Executable
This guide contains instructions for creating a server and launching it. If you have already setup your server through other means such as Docker or Manual Building you can skip down to the Launching step.
- Download Executable Download links for the server
- Move to its own directory Moving the server to its own directory
- Launching Guide for launching the server
- Connection URL Guide for finding the server Connection URL
- What to do next Guide for what to do next after you’ve setup your server
1) Download Executable
If you would like to manually build a server executable yourself rather than downloading pre-built binaries you can follow the Manual Building Guide
You can find download links to pre-compiled binaries below:
| Platform | Link |
|---|---|
| Download | |
| Download |
2) Move to its own directory
Move the server file to its own directory in order to not interfere with or overlap with other files and folders.
All the Pocket Relay data files will be stored in a “data” folder alongside the executable.
3) Launching
Now you can launch the server executable. The steps below show the different ways of doing this for the different platforms
 Windows
If you are on windows you can do this either by opening the executable normally with a Double Click
or
Right Click + Open or through the terminal using
./pocket-relay.exe Linux
Linux
If you are on linux you will first need to make the server executable “executable” you can do this with the following command:
chmod +x ./pocket-relayThen you can start the server with the following command
./pocket-relayNote: The default server configuration uses port 80. On Linux this will require that you run the previous command using sudo. If you would like to change the port see the Configuration
4) Connection URL
Now that your server is up and running it will output your possible Connection URLs to the server output and to the log files. You will need to provide one of these Connection URLs to anyone you would like to join the server.
You can find the server log file at the following path (Relative to the server executable)
data/server.logThe Connection URLs message should look like the following:
[2022-11-28T15:14:35.555306400+13:00 INFO pocket_relay] Connection URLS (LAN: 192.168.88.251, WAN: IP_REDACTED, LOCAL: 127.0.0.1)The Connection URLs message contains different urls there are usually LAN, WAN, and LOCAL. Below is an explaination of when you should use each one
| Type | Explaination |
|---|---|
| LAN | If the person who’s trying to connect to you is on the same network (i.e. The same Wifi network) |
| WAN | The person is trying to connect to you remotely from another network |
| LOCAL | The IP address you can use if the server is running on the same computer that you are using to play |
If you are planning to use WAN you need to make sure that the server port is portforwarded. This port is port 80 unless you’ve changed it in the configuration and this port is using TCP
At this point you can head over the Client Guide to learn how to join the server
5) What to do next
Now that your server is all setup you can configure it further using the Configuration Guide
Dashboard
One of the things that you will probabbly want to do is access the dashboard that is include within the server. The dashboard can be accessed by putting the Connection URL into your browser.
Visting the URL will greet you with a login page:
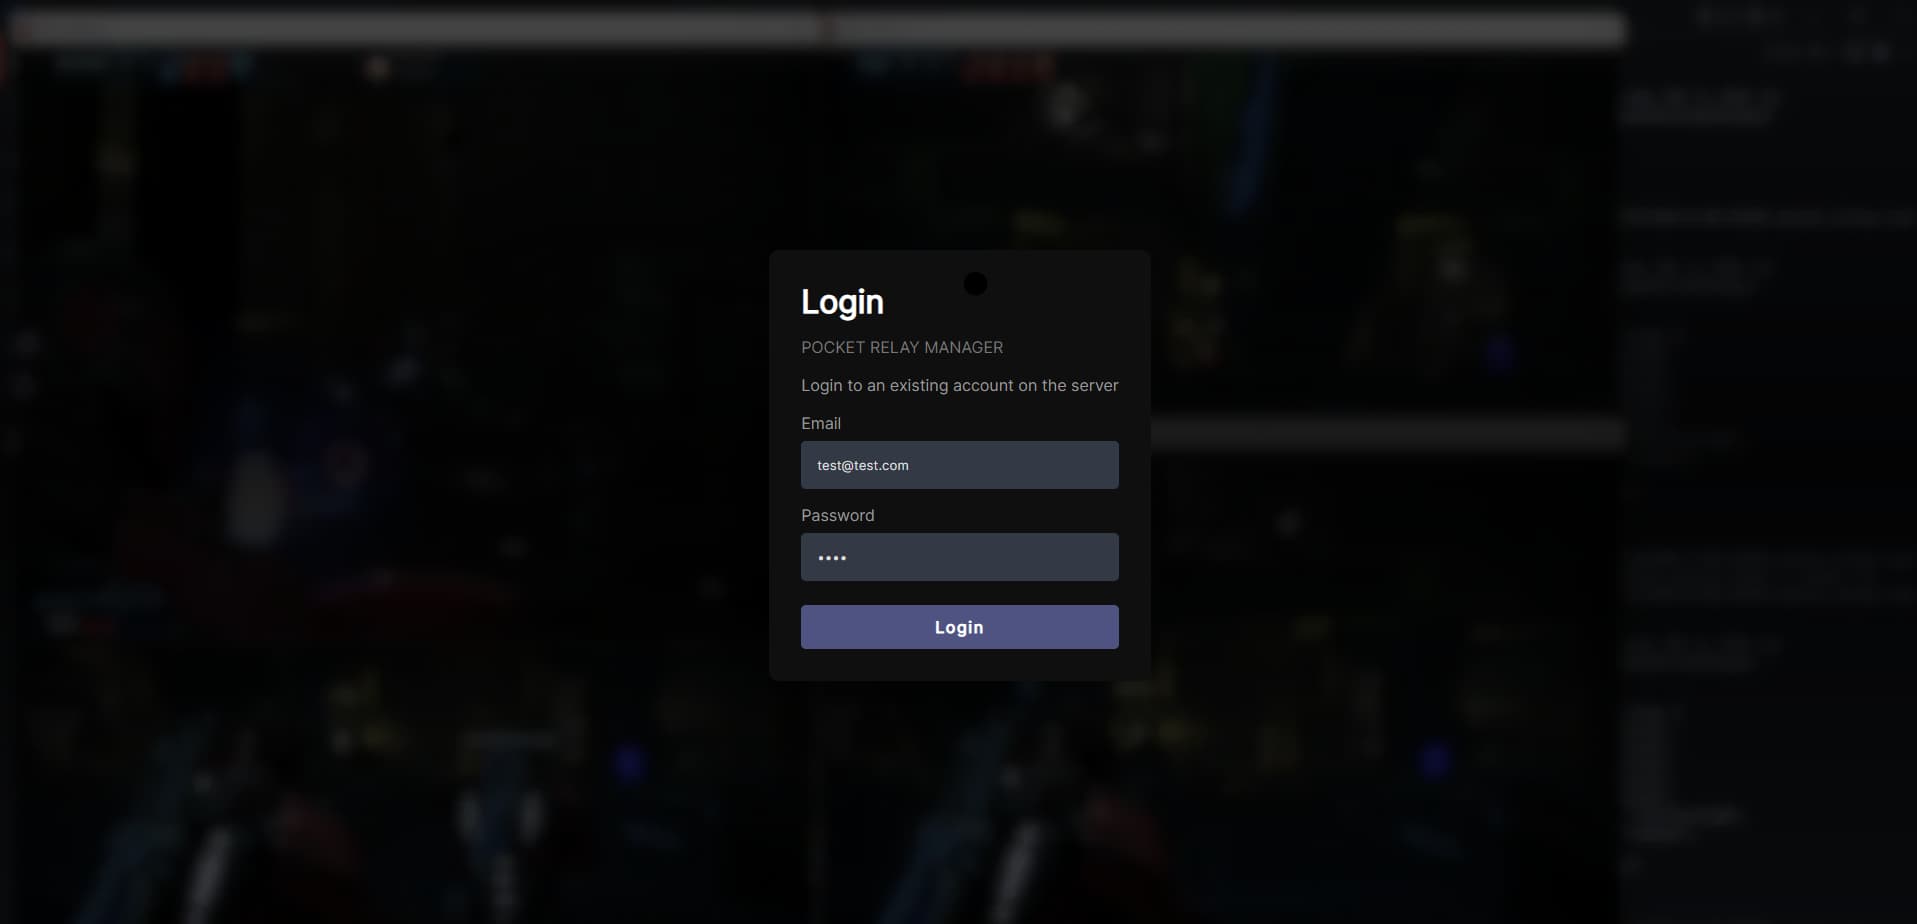
Your credentials for the Dashboard will be the same as the credentials you use to login in-game
Note you will either need to use a cracked account to login to the Dashboard or use an Admin account to assign a password to your Origin account
In order to access the Admin functionality of the Dashboard to do thing like editing player data you will need to assign a Super Admin user to do this you must use the Configuration Guide to set the Super Admin property to the email of the account you want to give Super Admin access to.
Super Admins have access to give Admin to other users but Admins cannot give or remove access. Your Super Admin account has elivated privilleges over all the other server accounts and has access to the server logs